If you’re wondering which essential canning supplies for beginners are actually worth buying, this guide will walk you through the must-have tools, the nice-to-have extras, and what can wait until later.
Disclosure: As an Amazon Associate, I earn from qualifying purchases. This post may contain affiliate links, which means I may earn a small commission at no additional cost to you if you make a purchase. I only recommend products I personally use or genuinely believe will help you.
When I first became interested in home canning, I was convinced I needed an entire kitchen full of special equipment before I could preserve my first jar. Every blog seemed to have another list of “must-have” gadgets. Every trip to the store left me wondering if I was forgetting something important. By the time I looked at my shopping cart, I wasn’t excited anymore—I was overwhelmed.
If you’ve felt that way too, let me encourage you: You do not need to buy every canning gadget on the market before you begin. In fact, most beginner canners only need a handful of quality tools to preserve their first batch safely. You can add to your collection over time as your confidence grows.
Home canning is a skill that’s learned one jar at a time—not one shopping trip at a time.
Helpful Resource
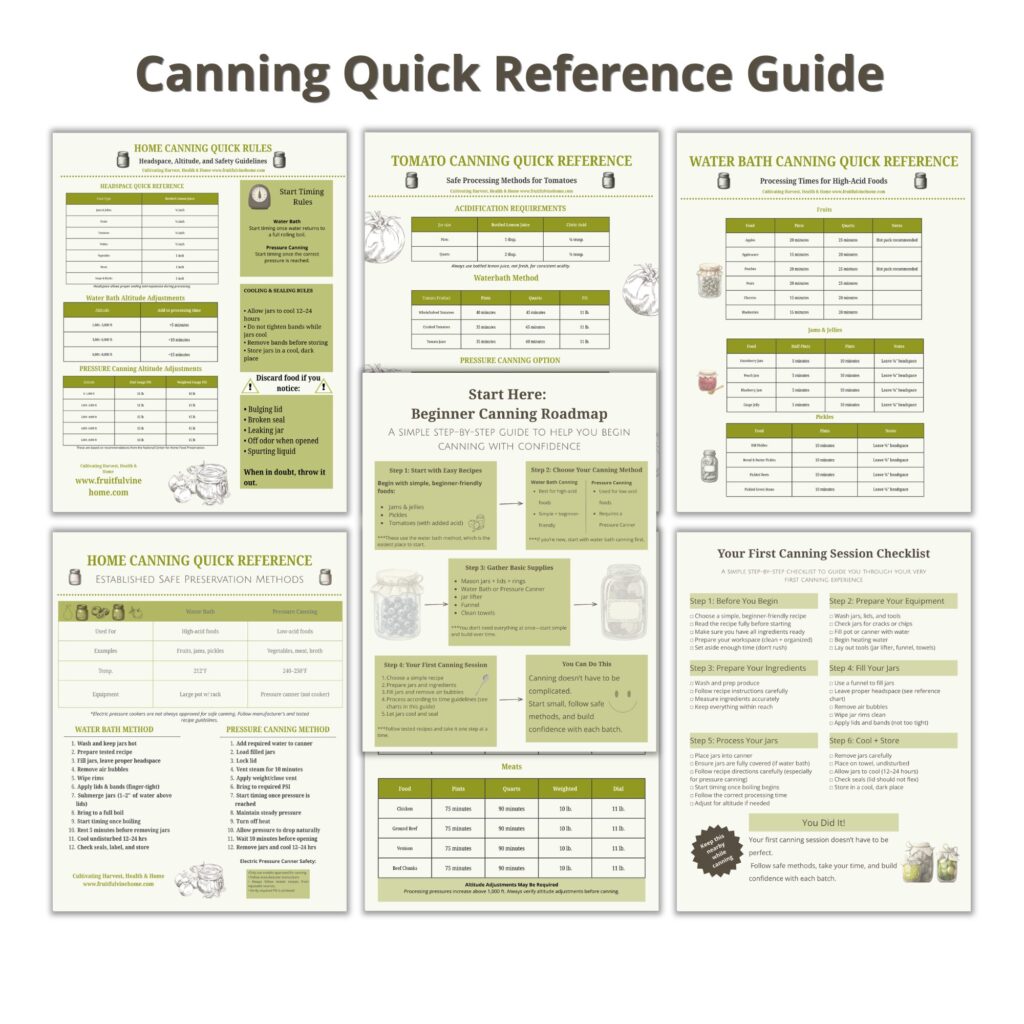
As you begin building your canning supplies, it also helps to keep important processing information close at hand. My Home Canning Quick Reference Guide puts the canning information you’ll use most into one printable you can keep right in your kitchen.
What You’ll Learn
In this guide, we’ll cover:
- The essential supplies every beginner actually needs
- Which purchases are worth making first
- Which tools are simply nice to have
- What equipment can wait until later
- How to build your canning supplies without overspending
Start with the Essential Canning Supplies
One of the biggest mistakes beginners make is assuming they have to buy everything all at once. The truth is that experienced home canners often built their supplies gradually over many years. If you’re just getting started, focus on purchasing only what you’ll need for your first project. That keeps the learning process simple—and much less expensive.
1. Mason Jars
Good-quality mason jars are the foundation of home canning. They are specifically designed to withstand repeated heating and cooling, making them much safer than repurposed commercial jars.
You’ll find them in several common sizes:
- Half-pint
- Pint
- Quart
If you’re only starting out, don’t feel like you need every size. Buy the jars that match the recipes you plan to make first.
Recommended Product: Ball Regular Mouth Mason Jars
2. New Canning Lids
While the jars themselves can be reused for years, traditional metal lids are designed for one-time use. Using a fresh lid each time helps create a reliable seal that keeps your food safely preserved. Always inspect lids for dents or damage before using them. Make sure your lids match the jars you will use; there are wide-mouth and regular-size lids.
Also, it may be tempting to buy off-brand lids at a lower price, but be careful when choosing who to buy from. Read reviews carefully—2020 taught us that not every seller offers a safe product!
Recommended Product: Ball Canning Lids
3. Screw Bands
The metal bands hold the lid in place during processing. Unlike the lids, these are usually reusable for many years as long as they remain free from rust and damage. Many beginners are surprised to learn they don’t need to replace these every season. You can often find bands and lids sold together.
4. A Water Bath Canner
If you’re planning to preserve:
- jams
- jellies
- pickles
- fruit
- acidified tomatoes (using tested recipes)
a water bath canner is one of the best first investments you can make. It’s inexpensive, straightforward to use, and perfect for learning the basics of home food preservation. I started water bath canning with a common enamel canning kit, but I now recommend using a stainless steel kit if you plan to make this a regular part of your home pantry planning. Stainless steel is more sturdy, and depending on the type of stove you use, you’ll get more even heat distribution with stainless steel.
Recommended Product: Water Bath Canner
New to canning?
If this is your very first batch, you’ll probably want to read my complete Canning for Beginners guide before getting started.
5. Jar Lifter
If I could recommend one specialty tool, this is it. Hot jars are heavy. They’re slippery. They’re filled with boiling food. A jar lifter makes removing them from the canner much safer than using regular kitchen tongs. This inexpensive tool quickly becomes one you’ll use every single canning day. If you get a kit like above, it will probably be included, but you can also purchase them separately or in a utensil kit like this >>> Canning Utensil Kit.
6. Canning Funnel
A canning funnel may not look exciting, but it saves an incredible amount of frustration. It helps direct food neatly into the jars while keeping the rims clean. Clean rims help create better seals. Less mess also means cleanup goes much faster. I found the one below years ago, and I love it because it works with regular and wide-mouth jars. It also has headspace measurements on the side, which is really handy!
Recommended Product: Single/ Wide Mouth Canning Funnel
7. Bubble Remover and Headspace Tool
Tiny air bubbles can become trapped inside filled jars. This inexpensive tool helps release those bubbles while also measuring proper headspace. Many beginner canning kits include one. If yours doesn’t, it’s worth purchasing separately. The one below also includes lid lifters, which come in handy too!
Recommended Product: Bubble Remover & Headspace Tool Plus Magnetic Lid Lifter
Helpful Supplies That Make Canning Easier
Once you’ve canned a few batches, you’ll probably discover there are a handful of tools that aren’t essential—but you’ll be glad you have them. These are the items I reach for almost every time I can.
Kitchen Towels—Never underestimate how many towels you’ll use during a canning session. Keep several clean towels nearby for:
- Wiping jar rims
- Cleaning spills
- Drying hands
- Protecting countertops
- Setting hot jars on while they cool
Labels and a Permanent Marker—You may think you’ll remember what you canned and when…You won’t. Ask me how I know. Label every jar with:
- Contents
- Date canned
Future you will be very grateful.
Digital Kitchen Timer—Processing times matter. Having a dedicated timer nearby helps prevent distractions from turning into mistakes. Most of us already have one on our phones, but I like having a separate timer on the counter while I’m working.
Supplies That Can Wait
One of the best ways to keep canning affordable is to buy equipment as your skills grow. You don’t need to purchase everything on day one.
Pressure Canner—Many beginners think they need both a water bath canner and a pressure canner immediately. That’s simply not true. If all you’re planning to preserve are:
- Jams
- Jelly
- Fruit
- Pickles
- Relishes
- Many acidified tomato products made with tested recipes
a water bath canner is all you need to begin.
A pressure canner becomes necessary when you’re ready to safely preserve low-acid foods like:
- Green beans
- Corn
- Carrots
- Potatoes
- Meat
- Broth
- Soup
There’s no rush. Master one method first. Then learn the next.
Specialty Gadgets
There are countless canning gadgets available today. Some are genuinely helpful. Others simply duplicate tools you already own. As you gain experience, you’ll naturally discover which items fit your own workflow. Until then, keep it simple.
Build Your Supplies One Season at a Time
If I could give one piece of advice to every new canner, it would be this: Don’t try to build your dream canning kitchen in one shopping trip. Instead, think of your supplies as something you’ll collect over time. Maybe this Spring you learn to make strawberry jam. In the Fall, you try canning tomatoes. The following season you learn to preserve soup.
Little by little, you’ll build both your equipment collection and your confidence. That’s exactly how many experienced home canners got started.
Avoid This Common Beginner Mistake
Buying the right equipment is important…But knowing how to use it safely is even more important. Before your first canning day, I also recommend reading:
Biggest Canning Mistakes Beginners Make (and How to Avoid Them)
Learning what *not* to do can save you time, money, and disappointment.
Keep Your Most-Used Information Within Reach
One thing I quickly realized after I started canning was that I was constantly stopping to look something up. How much headspace does this recipe need? How long do I process this jar? What’s the recommended pressure?
Instead of flipping through books or searching online every time, I wanted a simple reference I could keep right in my kitchen. That’s exactly why I created my Home Canning Quick Reference Guide:
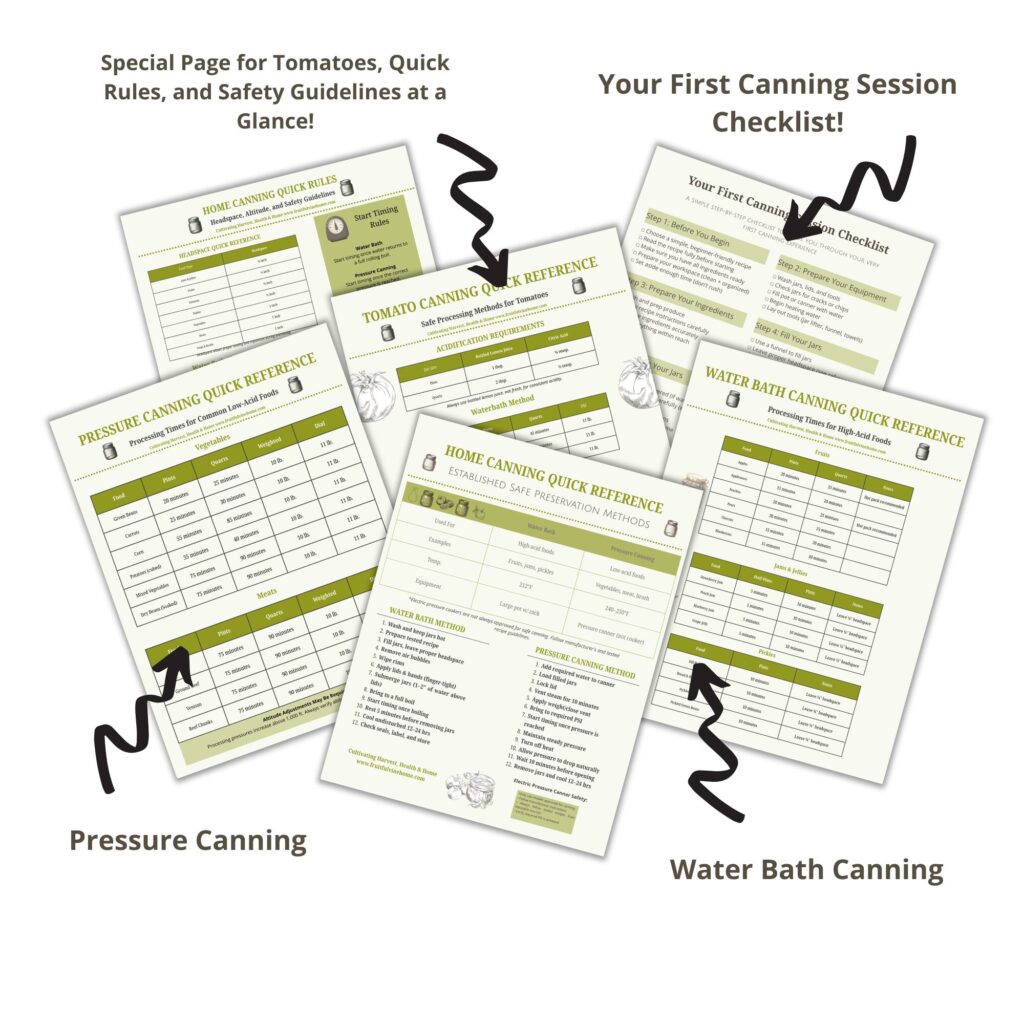
It puts the information I reach for most often into one printable that’s easy to keep beside your canner. Whether you’re preserving your first batch or your fiftieth, it’s designed to help make canning day feel a little less overwhelming.
Frequently Asked Questions
What supplies do I need to start canning?
Most beginners only need mason jars, new lids, screw bands, a water bath canner, a jar lifter, a funnel, and a few basic kitchen towels.
Can I reuse canning lids?
Traditional metal canning lids are designed for one-time use. Mason jars and screw bands can usually be reused if they’re still in good condition.
Do I need a pressure canner to start canning?
No. If you’re preserving high-acid foods like fruit, jams, and pickles using tested recipes, a water bath canner is an excellent place to begin.
Can I use old spaghetti sauce jars for canning?
It’s best to use jars specifically manufactured for home canning. They’re designed to withstand repeated heating and cooling and are made to work with standard canning lids.
Should You Buy Cheap Canning Equipment?
Some canning tools last for decades. Spending a little more on a quality jar lifter, sturdy water bath canner, or trusted brand of jars often means you won’t need to replace them for years. Rather than buying everything at once, consider buying a few well-made tools each season.
Final Thoughts
Learning to can doesn’t begin with buying every tool on the shelf. It begins with taking one small step.
A few quality supplies.
One trusted recipe.
One successful batch.
Before long, you’ll find yourself reaching for those same well-loved tools each season, preserving food with confidence and creating a pantry that reflects the care you’ve put into your home.
So don’t wait until you have everything. Start with what you need today. You’ll build the rest along the way—and that’s part of the joy of learning this timeless skill.